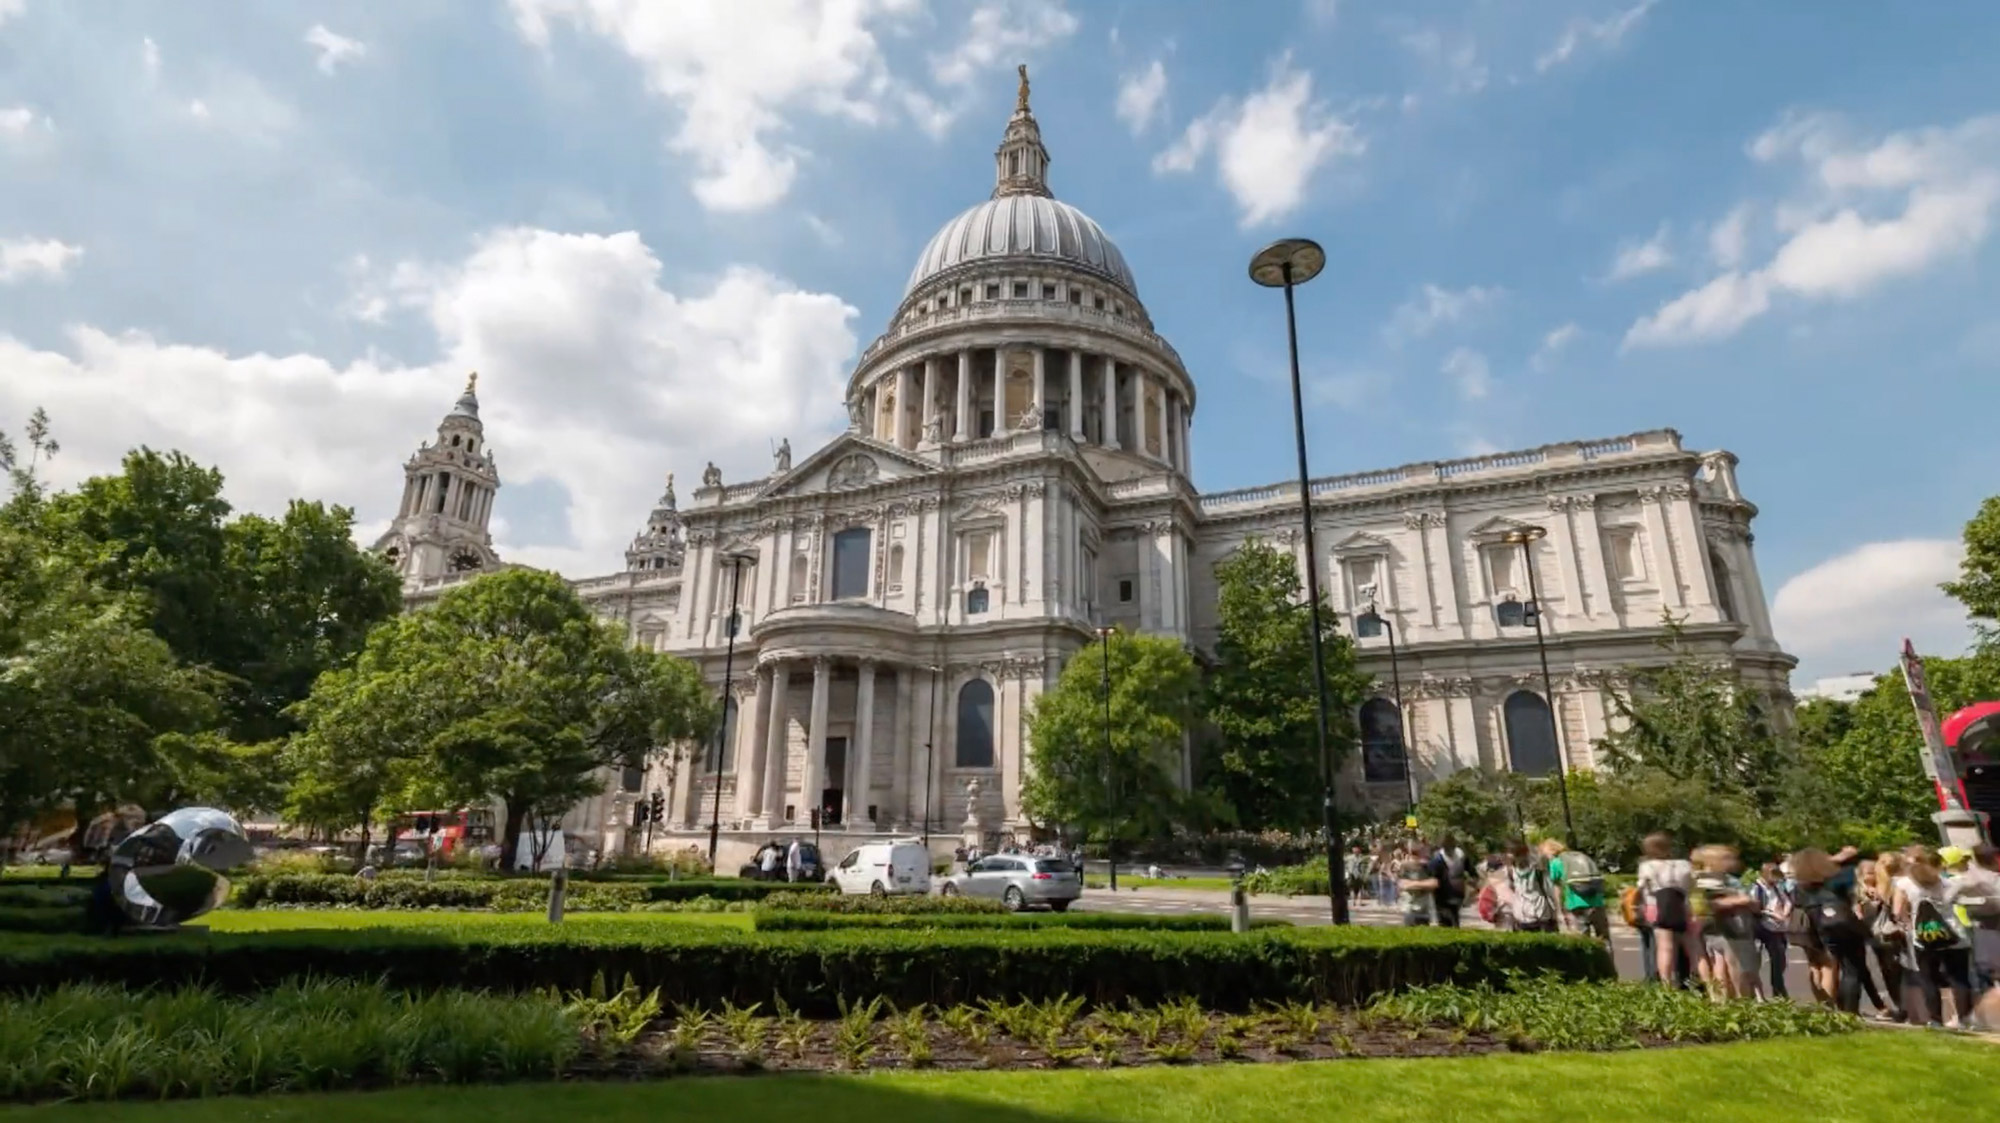
MPB Meets: Hyperlapse Photographer Tom Chambers
Published 5 November 2021 by MPB
Hyperlapse specialist Tom Chambers has created stunning hyperlapse videos for iconic brands including Netflix and BBC Sport, including one seen by an audience of millions during TV coverage of the Euro 2020 men’s final. How does his work come together? We caught up with Tom to learn more about his technical process, advice for beginners and kit setup. Over to you, Tom.
MPB: Could you tell us about yourself and your creative background?
TC: I've been working in the creative field in one way or another since 2009. And, before that, photography had been a passion of mine since I won a very basic digital camera, an Olympus C-100, as a kid. Back then, while at University in Brighton, I started photographing in nightclubs. This led quite rapidly to making music videos and going on tour with bands. Then in 2011, after university, I did four years at a TV and branded content company, moving to London and being the in-house camera operator, travelling all over the country and world to shoot videos—which was a great experience. I decided to go freelance in 2015. And, after a short while, I started making hyperlapses at the end of 2016. That has basically become the niche that I have sat in ever since.
MPB: What is the creative process for making a hyperlapse?
TC: The process starts with thinking about the logistics for each shot. For example, when shooting a hyper-lapse of a landmark, you have to ask yourself what the best angle is, and whether it's possible to have a safe path to move along that passes through the position of the 'best angle.' So, when it’s played back, you get all of the angles lining up to the 'best angle'. I use Google Street View to figure out good sections of pavement that are obstacle-free, and then you can focus on how you’re going to frame the landmark and move around it. When you get to a location, you’re figuring out where your start- and end-points are, and making sure that you can see a certain prominent part of the landmark that will be your focus for stabilising each of your photos.
Creatively, I think you’re trying to figure out what would be the most impactful move for the subject that you’re photographing, and potentially how the sun and clouds are going to move and affect the shot. You then have to figure out how far you will move between each photo, and how long of a gap you need to move the camera and reframe the shot—your interval. The interval also dictates how long it’s going to take to capture, and how much of a 'time-lapse' effect you're going to get.
If you shoot a hyper-lapse really quickly, then you lose some of the magic of seeing time compressed. So you have to have the patience to stand there and shoot that. Say there are 350 paving slabs that cross Waterloo Bridge, and you're framed towards the city—one of my favourite London views—do you want to do a photo for each paving slab, which would create a 14 second shot at 25 frames-per-second? And, if you have a 15-second interval, it’ll take you at least 87 minutes. Or, do you just do every three slabs as you only need a short clip and don't want to be there for an hour-and-a-half? When you start shooting, you wait for the photo to be taken, move the camera and then reframe the shot on the point you are moving around, then rinse and repeat until you get to your endpoint. I find that using an intervalometer to trigger the camera at steady intervals is better than shooting each frame yourself, and means that things like clouds or slow-moving boats will move at a uniform speed, rather than jumping at different rates between frames.
Once all the shooting is done, you then have the next time-consuming process of editing the hyperlapse. I start with loading the hyperlapse sequence of RAW files into Gunther Wegner’s amazing software LRTimelapse, which allows you to keyframe edited photos in Lightroom and then ramps your settings between keyframes, allowing you to smoothly transition between exposure levels or white balance changes that happen over time when shooting a hyperlapse in variable conditions. Once that is complete, and the exported images are turned into a ProRes file, I open that in AfterEffects and use the 'Track Motion' feature to go frame by frame and line up each shot with a prominent feature that I tracked around while shooting. This is why it's so important to line up each shot while shooting. When that is finished and exported from AfterEffects, I bring the tracked shot into Premiere, place it in a 4K sequence and then can apply a digital zoom or pan if necessary. It is then finished off by nesting the clip and warp stabilising at a low smoothness level to iron out any other final wobbles. This, it has to be said, is only my version of how I shoot a Hyperlapse. There are loads of different techniques people use that can all get to the same endpoint.
MPB: What kit and support kit do you use to create them? How has your kit setup changed over time?
TC: At the moment, my go-to kit is made up of a Canon EOS R5, a DJI Ronin-S, the 15-35mm f/2.8 L IS, and either the 2–5 or 6–9-stop Polarpro ND filter, a Neewer intervalometer and my carbon fibre Gitzo GT3540LS. The handheld gimbal is screwed directly onto the tripod, and is also set to only work via the joystick and moves very slowly so that when you move the tripod between shots, the camera stays looking in roughly the same place and it keeps the horizon consistently level.
When I started, I was using a Canon EOS 5D Mark III and 11-16mm T3.0 EF with just a ball head on my tripod. It worked fairly well, but after hundreds of photos, your thumbs would hurt from untightening and retightening the ball head! I found that the stabilisation process after you’ve shot it was much harder and less consistent than when I eventually started to use a gimbal to keep the horizon level. At the time I was also just using the warp stabiliser until I found out about the 'Track Motion' technique in AfterEffects. My kit now allows me to shoot incredibly wide, but also be able to crop into the huge resolution without losing quality—even at 4K.
(To learn more about Tom's gear, read our Canon EOS R5 review.)
MPB: What would your top tips and advice be for creating stunning Hyperlapses? What should a beginner look out for?
TC: Try and keep your intervals as consistent as possible. If you have a shot in mind, walk the whole path to see if it is doable. Line up your end shot, find the part of the shot you are going to focus on, and then move back to the start and see how that will work. Shoot in RAW, use manual mode and set your exposure at the start. If the exposure of the scene changes while you are shooting, you can change your settings to accommodate so that the shot doesn't get too dark or too light. Learning how to use LRTimelapse will also help with how you view changing your settings mid-shoot. The software will be able to smooth out any changes you've made to the exposure and make it look a lot better in the long run, so don't worry if it doesn't look great straight out of the camera.
Although it might sound complicated, hyperlapse is quite a simple idea at the heart. It’s just a pretty technical and long process, and it takes a while to perfect. As with anything though, you can only really get that experience from actually going out and doing it. Just be prepared to be very patient!
MPB: Demand for this style went up after your video Hyperlapse: London. Could you tell us about that video and why you think it had such an impact?
TC: Hyperlapse: London just started as a personal experiment with hyperlapse, I had been looking into how it is done online and was itching to go out and practice shooting them at night to see how hard it really was to do. After a few weeks of going out at night shooting these, I put them all together with some music and put the video online. I thought it looked pretty good, but the reaction online was amazing. Within a couple of hours, the video had been passed around and two people had got in touch with jobs! One of them was street artist Jim Vision, who had two upcoming projects for Playstation and Google, which ended up going well. And I've now been working with him and End Of The Line for more than four years. I think the impact that it had, looking at the comments and feedback I got from it, was that a lot of people had never seen a hyperlapse before. Especially not night-time hyperlapses of London. One of the best comments, which I think summed up the sentiment, was "My eyes feel like what my mouth felt like when it first ate pizza". That’s still probably one of the highest compliments I’ve ever received about my work!
MPB: You’ve worked for some huge brands including Netflix and BBC Sport. What advice would you have for people looking to get noticed?
TC: I've been very lucky to work for some massive brands over the years. And, to be honest, I wasn’t actively trying to get noticed by them. But I guess just having a decent portfolio and website out there on Google really helped, and a lot of people have found me purely through that—which I’m super grateful for. Working with big partners like that, I think you realise that either they know what they want, and you should listen to that and work with them to deliver it, or they are of the mind that they just want to give a loose brief and see what I’ll do with it!
MPB: The hyperlapse you made for the BBC’s coverage of the Euro 2020 men’s final must have been seen by millions. Could you tell us a bit more about how the project came together?
TC: The BBC got in touch through my website, in the summer of 2020, for me to do a London-based hyperlapse introduction for the FA Cup final between Arsenal and Chelsea. That video went down really well with the BBC Sport department, so we already knew each other when it came to the Euros this year. As England started to look like they would have a path to the final, a few days before the quarter against Ukraine, I had a call from the BBC that they wanted to make an England-wide video in the same vein as last year‘s FA Cup video.
We worked together and made a list of all the most iconic places in England. I started shooting around London locations on the day of the semi-final, including the shot moving toward Wembley Stadium, which was done with the semi-final crowd. I then had to set off for Newcastle, while listening to the match on the radio—it was a tense drive. If England lost, the shoot would be cancelled and I'd have to turn around! But luckily they won and I ended up getting to Newcastle at 2 am. The next couple of days, I shot Newcastle Quayside, The Angel of the North, York Minster and the shambles, Sheffield Crucible, Blackpool Tower, The Beatles statue in Liverpool, Manchester's Canal Street and then a replica of the cup on a 30m high scissor lift under the Wembley Arch. It was an amazingly fun job, if a little bit of a tight deadline, and I was very proud of getting this shown to so many people and feeling like I could contribute to the amazing atmosphere on that day.
MPB: What are you working on at the moment? Any projects you would like to share with us?
TC: At the moment, work is really busy. I recently did a video for Chanel, who hosted a pop-up shop in the Harrods penthouse, where I captured the transformation through timelapse as well as the final walk-through and the stunning jewellery they were showcasing. At the other end of the scale, I did a behind-the-scenes video for one of the tech companies that provided screens and cameras to a show at Wembley SSE for drum-and-bass DJ Andy C, showing the huge set build and then the night itself. Another job was for Jim Vision, who painted a 16m-high mural in Birmingham for the new Scream film. So, it’s pretty varied and exciting! Hopefully, there are more interesting jobs to come for the rest of the year and going into 2022.
For more tips and techniques, expert interviews and camera gear guides, check out the MPB content hub.
You can sell or trade your camera kit to MPB. Get a free instant quote, free insured shipping to MPB, and get paid within days.